The Paddle Dimensional Envelope: Every Limit, and the Tolerance Stack Behind It
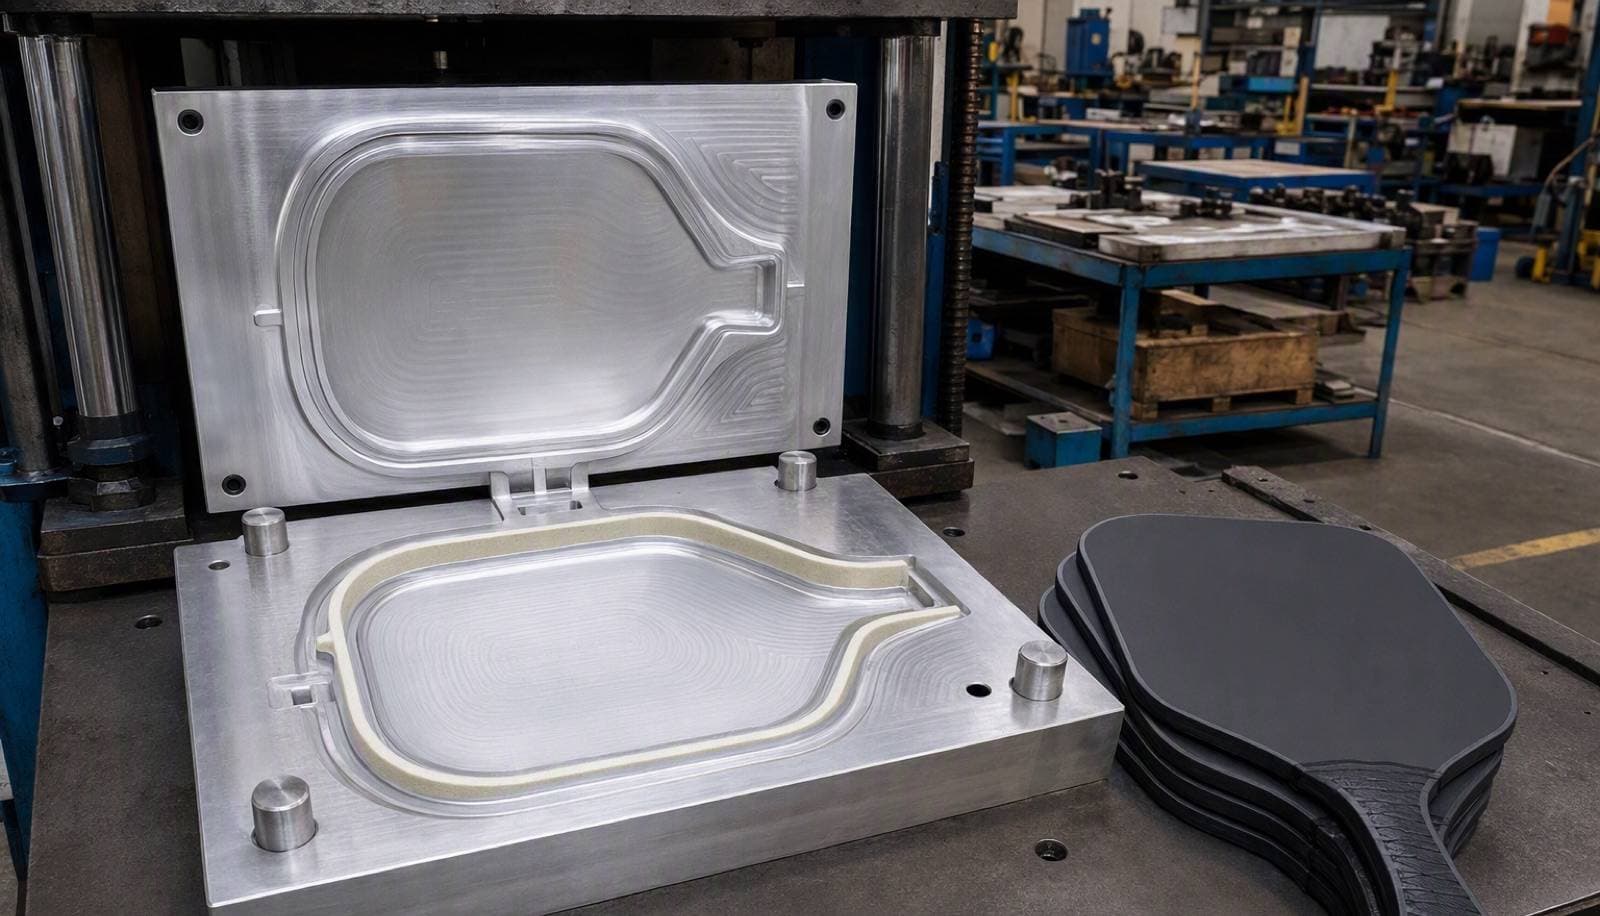
For a pickleball paddle dimension check, USA Pickleball’s 2026 rule 3.D.2 caps the finished length plus width at 24 inches (60.96 cm), including the edge guard and butt cap. Length must also stay within 17 inches (43.18 cm). Before releasing tooling, agree the positive-deviation budget and the supplier’s final measurement method. Follow the six release steps below.
- Measure the assembled paddle’s overall length and maximum width, including its edge guard and butt cap.
- Separate the official cap from the supplier’s production tolerances.
- Check length and length-plus-width independently.
- Do not count rim buildup again if finished dimensions already include it.
Step 1: Read the envelope on the finished paddle
The 2026 rulebook applies the limits to the complete paddle. Specify the material options and thickness separately: absence of a thickness limit in this clause does not make thickness irrelevant to a purchase drawing. The older Equipment Standards Manual carries the size clause under 2.E.3, not 3.D.2. Record both document editions to avoid a misleading clause citation. Ask the supplier to mark the completed outer outline on the purchase drawing, not just the striking face.
| Finished measurement | USA Pickleball limit | Drawing control |
|---|---|---|
| Length plus width | ≤24 inches; 60.96 cm | Include guard and butt cap |
| Overall length | ≤17 inches; 43.18 cm | Check independently of the sum |
| Thickness | No restriction in this clause | Set the purchase tolerance separately |
For a brand’s bulk paddle specification, compare the carbon-fiber paddle catalog.
Step 2: Budget positive deviations before releasing the tool
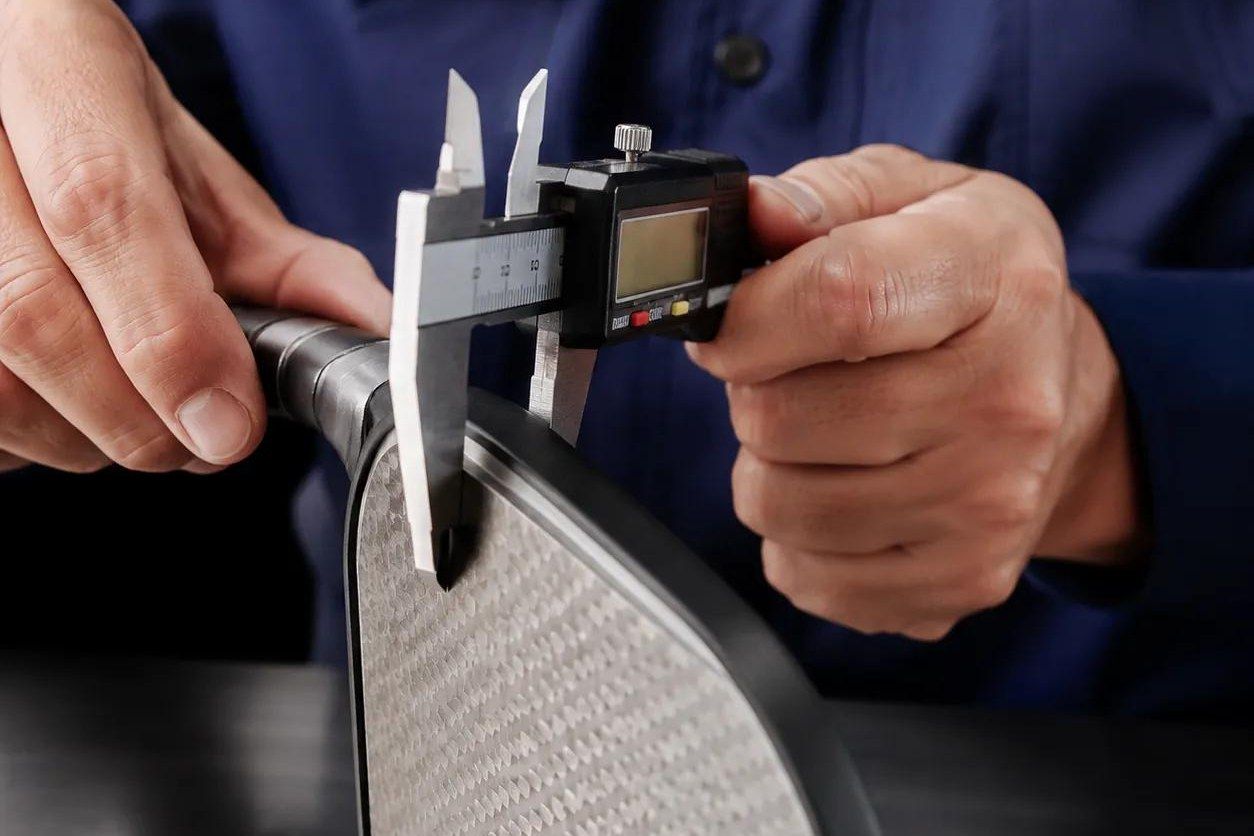
Use the proposed upper-bound calculation: nominal finished length + nominal finished width + positive length deviation + positive width deviation + measurement reserve ≤24 inches. Check nominal finished length + positive length deviation + its measurement reserve ≤17 inches separately. These equations define a drawing budget. They do not assert a factory’s capability.
Ask the supplier to assign each deviation to a named process and show the evidence behind it. If the available margin cannot cover the agreed stack, reduce the nominal outline before tool approval rather than relying on average dimensions.
Step 3: Keep component allowances separate from final measurements
When the drawing starts from the trimmed panel, include the guard’s outward buildup and cap extension in the final envelope model. When it starts from the assembled outer outline, those features already sit inside the nominal dimensions. Adding them again would consume the same allowance twice.
Ask which drawing each measurement references: panel cut, pressed blank, trimmed body or completed assembly. Require a dimensioned overlay when those datums differ. This control map assigns checks to process stages; it supplies no universal allowance for panel cutting, thermal recovery or guard bonding.
Step 4: Make the measurement decision rule part of the drawing
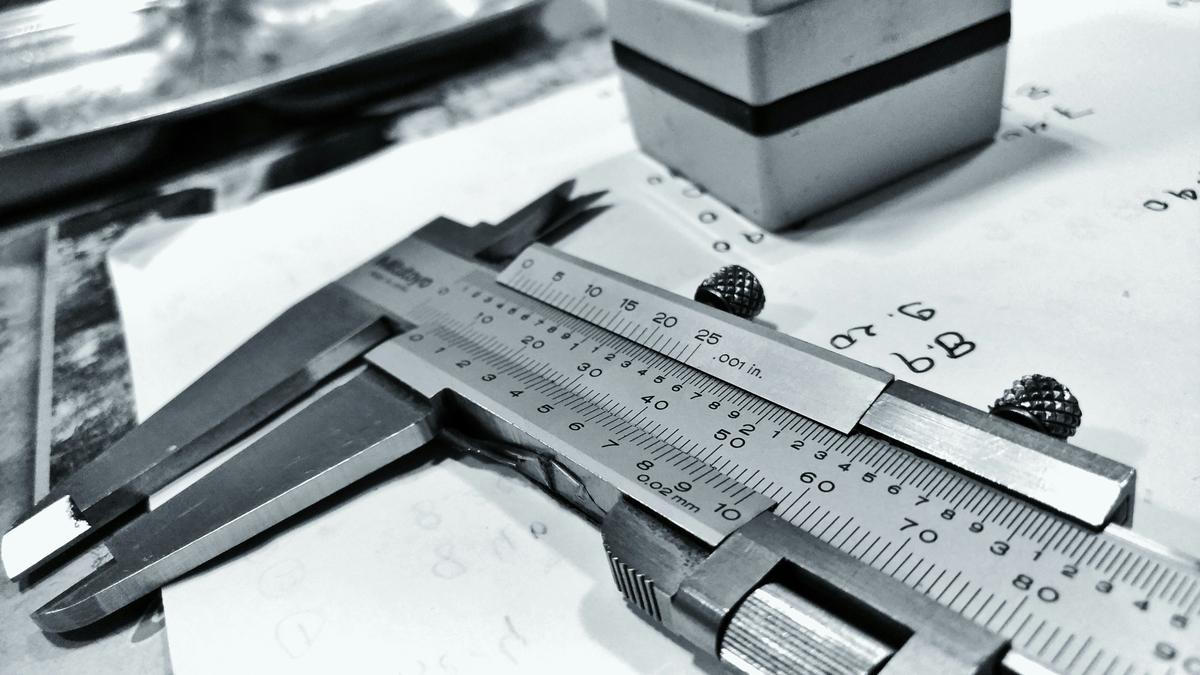
Specify the finished condition, measurement locations, instrument and reporting units. Ask how the gauge reaches the outermost edge without compressing the perimeter. Agree a measurement reserve and a decision rule for readings near a cap before inspecting the approval sample. Instrument resolution alone cannot establish the uncertainty of the full measurement.
Record each sample’s length, maximum width and their sum together. A length-only check can miss an over-wide rim; a sum-only check can miss an overlong body. Keep unrounded readings for the decision and record the current drawing revision beside each reading.
Step 5: Tie a dimensional change to the production lead time
Confirm the production lead time after final drawing approval and acceptance of the completed specimen. Separate tooling work, first-article review, dimensional rework and shipment scheduling. No verified company production schedule is available for publication here. Ask which approval starts each stage, who signs it, and whether an outline change resets the quoted completion date.
Place those dates beside the paddle specification sheet revision. If a new guard changes the finished width, reopen the dimensional check before retaining the delivery promise from the previous construction.
Step 6: Release against the assembled sample, not the CAD outline
CAD, the computer-aided design drawing, defines the intended shape. The completed sample supplies the release evidence. Compare its recorded dimensions with the approved maximum envelope and require approval before changing the guard, cap or trimming process. Keep the handle-length trade-offs on their separate page; this check addresses the whole assembly.
For an order from the paddle product catalog, choose a nominal shape that leaves room for the documented stack. If the supplier cannot support that stack with measurements, hold tool release and revise the drawing. Dimensional compliance alone does not establish full equipment approval.
Frequently Asked Questions
What is the maximum paddle length?
USA Pickleball’s 2026 rulebook limits finished overall length to 17 inches, including the butt cap. The separate length-plus-width cap still applies.
Does the guard count toward paddle dimensions?
Yes. Measure the finished assembly including the edge guard. A bare-panel measurement cannot establish the complete assembled paddle’s final dimensional envelope.
Does USA Pickleball set a paddle thickness limit?
Rule 3.D.2 does not restrict thickness. Buyers still need a contractual thickness specification, and other equipment requirements remain separate.
Can nominal dimensions prove that the finished paddle fits?
No. Approve the positive-deviation budget, then inspect the assembled sample against the same drawing revision and measurement decision rule.
Want to source this quality for your brand?
Contact our factory directly on WhatsApp for an instant MOQ and pricing quote.